Acorn BBC A3000 - Battery Maintenance
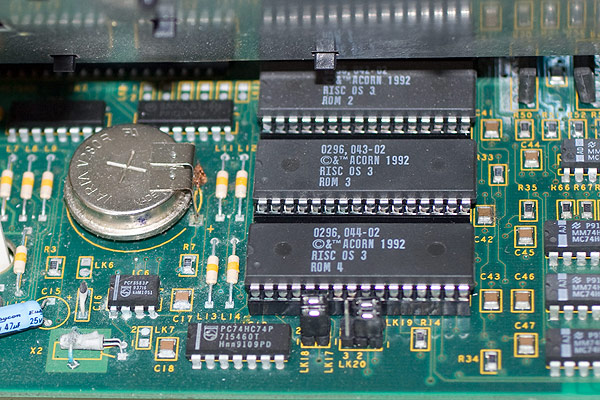
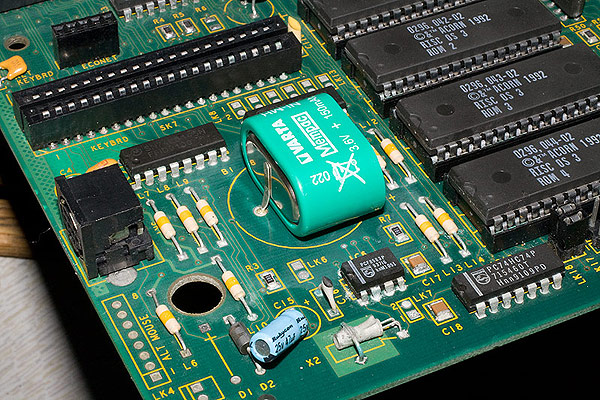
The BBC A3000 shipped with a 1.2V rechargeable battery soldered directly onto the motherboard to maintain configuration settings in the CMOS chip (IC6) pictured just below the battery whilst powered off.
With the age of the first A3000's now passing 22 years as of May 2011, battery leakage is a common source of faults due to old batteries that have not been replaced eventually failing and the alkalai materials that are released eating away at the circuit board and surrounding components eventually causing failure if not caught in time.
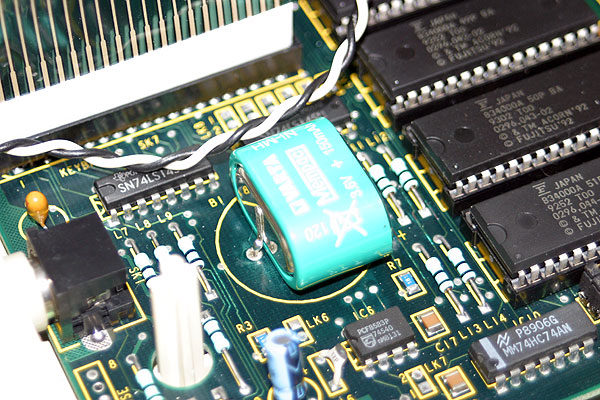
Batteries are still readily available for replacement and as long as they are replaced on a regular basis at around 3 yearly intervals, there should be no problems with maintaining a battery on the motherboard of the machine. Alternatively, a battery could be placed elsewhere inside the case of the A3000 and flying leads used to connect it to the motherboard thereby removing any chance of damage in the future.
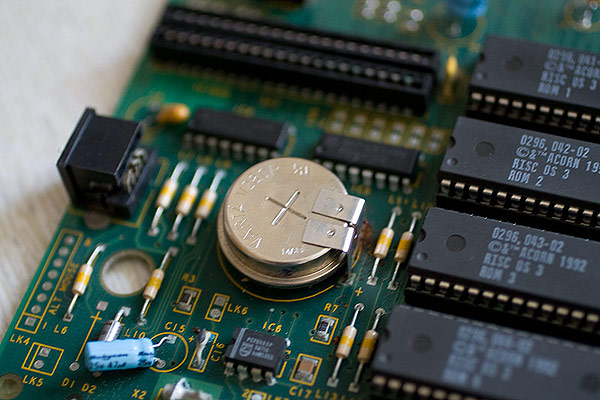
A suitable replacement PCB mountable battery like the Varta Mempac 3/V150H pictured is available from Farnell UK.
The specification of the CMOS chip PCF8583P is such that it can accept quite a wide range of rechargeable batteries as long as their operating voltage is within the range of 1 to 6 Volts. The circuit diagram in the Technical Reference Manual for the Acorn BBC A3000 shows that it was fitted with a 1.2V 280mAh battery.
Illustrated steps to replace the A3000's battery
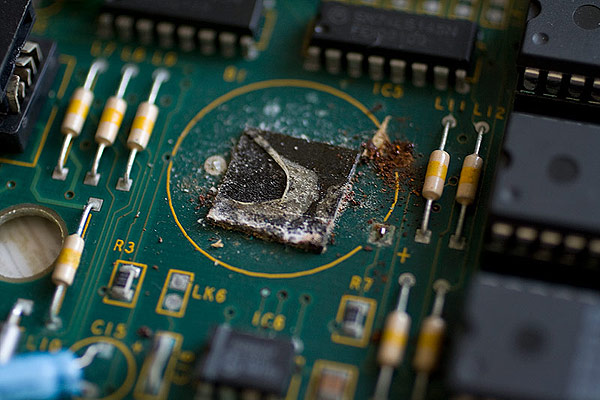
Step 1 - Remove the original battery
Remove the existing battery with wire snips to cut off the legs. There are three legs in total, two on the right and one underneath. Once you've snipped the two legs on the right of the photo, the battery can be gently lifted to gain access to the third leg.
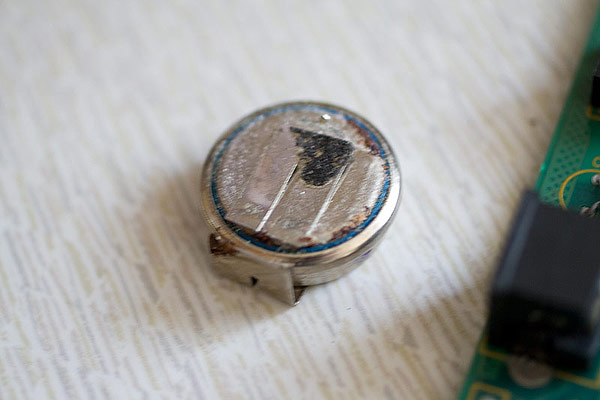
Once removed, examine the battery for leakage. The battery below had leaked so severely it had rusted through one of its own legs.
Step 2 - Clean up the corrosion
After removal, the PCB will require a thorough clean. Using a weak acid such as a 50/50 mix of white vinegar and de-ionised water, gently swab the PCB with the solution to clean it. The vinegar is used to neutralise the weak alkali that leaks from the battery.
On completion of the weak acid cleaning process, re-clean the area with some Isopropyl alcohol and swabs to remove any excess acid and other contaminants from the PCB.
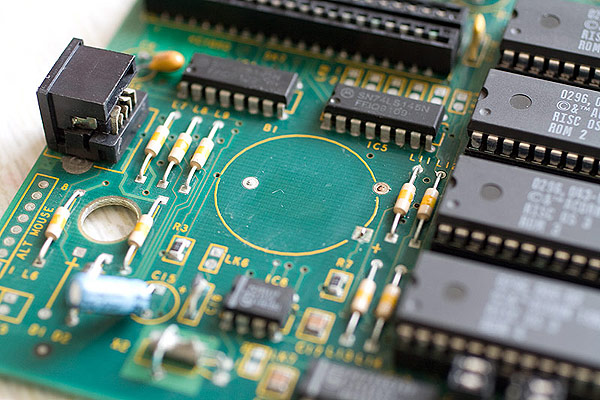
Step 3 - Remove the remnants of the legs
Using a soldering iron, de-solder and remove the remnants of the pins from the PCB and then do one final clean of the PCB.
After the pins are removed and both sides of the PCB have been cleaned with some IPA around the battery, the PCB should look similar to the photo below.
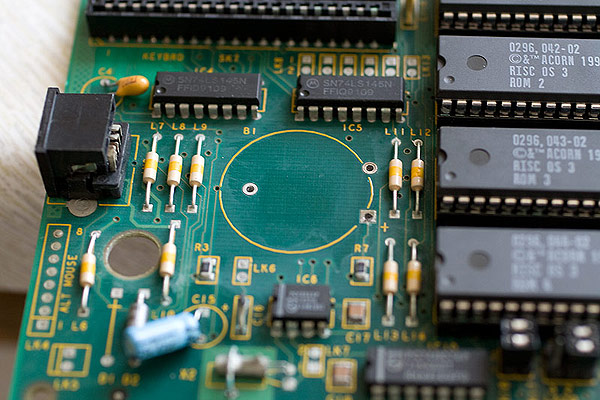
Step 4 - Solder in the new battery
The replacement battery recommended to provide suitable power to the A3000 fits perfectly in the space provided on the PCB. Place the battery on the PCB and prepare to solder.
Finally, after soldering into place, use some wire snips to trim any excess length on the legs of the battery to make a neat job and clean any excess flux from the joints.
The re-fitted battery should look something like the picture below once fitted and soldered into place.
If your battery has caused damage and your A3000 is "dead"
The first thing you need to do is remove the leaky battery. Once you've done that you can then look at cleaning up the circuit board and appraising the damage caused.
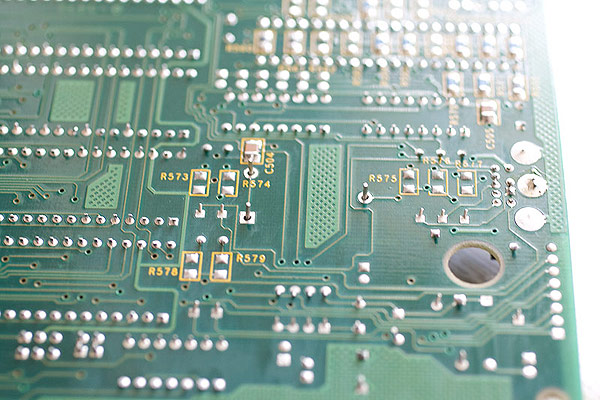
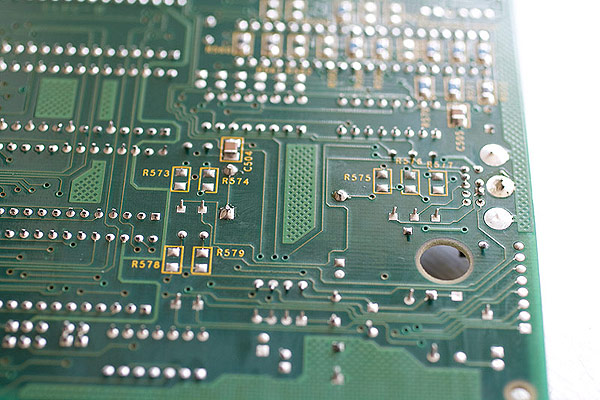
Once cleaned, the tracks around the battery and CMOS chip are the most susceptible to damage so it's worth checking the continuity of the tracks around the CMOS chip using a multi-meter and repairing any tracks that appear to be damaged using either conductive paint or small sections of wire.
If any components appear to have furry deposits on them after cleaning, it's also worth considering replacing those parts for long term peace of mind.
If the CMOS chip itself is suspect, a replacement CMOS chip from RS Components or Farnell is still manufactured and you can buy them relatively cheaply.
Translate this site
Acorn BBC A3000
A3000 maintenance
- A3000 Battery maintenance
- A3000 case repair and restoration
- A3000 keyboard servicing
- A3000 floppy drive servicing
- Cleaning the mains cable
Other maintenance resources
IconBar posts
News
- RISC OS continues to grow on GitHub
- Archive magazine updates
- Wakefield 2022 will go ahead on Saturday 21st May
- Drag'n'Drop 11i2 edition reviewed
- RISCOSbits releases some more risque hardware
Forums
- RISCOSbits releases some more risque hardware
- Is BASIC still useful for coding?
- Is BASIC still useful for coding?
- Three RISC OS Show dates for your 2022 diary
- Iris Web Browser receives January update
provided courtesy of The IconBar