Amiga A1200 PCMCIA reset fix
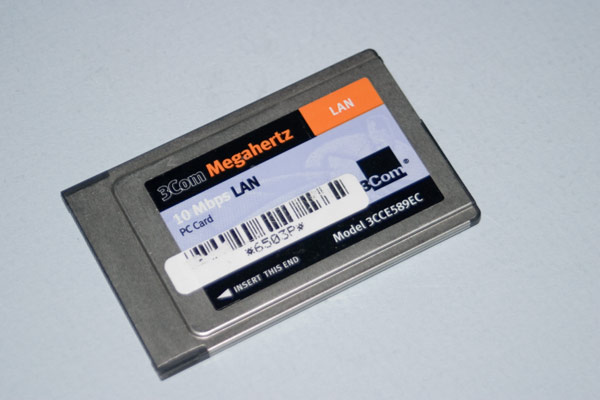
Certain peripherals when plugged into the A1200's PCMCIA port cause it to hang at power on or stop the machine from resetting correctly when a device is plugged in after power on. One such peripheral is my 3Com Ethernet NIC which I use to give the Amiga network connectivity for the transfer of files to and from the Internet and my NAS.
There are both hardware and software fixes for this problem and I prefer to fix this kind of issue with hardware because the software may not always be available which it isn't at the point of power on.
After working on one of my Acorn projects to add an ARM3 processor to an Acorn A3010, I had some parts left over including a couple of 84-way PLCC sockets so I decided that I'd finally take the plunge and create my own PCMCIA reset fix hardware for fun.
Due to the parts available, I opted to build the PCMCIA reset fix as detailed here shown below the photo is originally from http://www.faime.demon.co.uk/retro/1200.html which no longer exists.
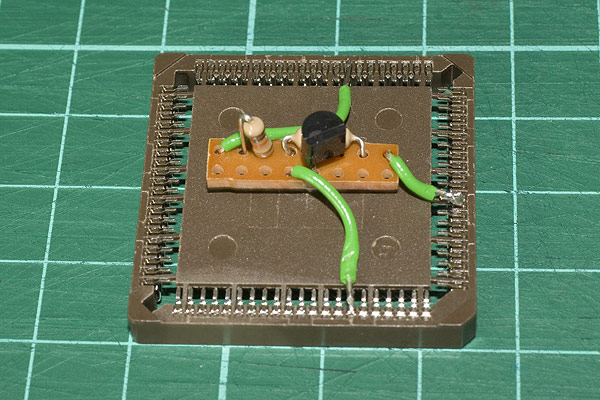
However, instead of soldering the components directly to the A1200 motherboard, I wanted to go with a "solderless" solution so I decided to use an overturned PLCC socket.
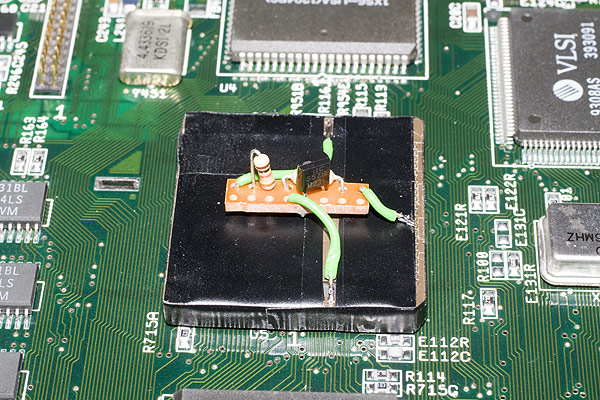
Using a small piece of TriPad (a variant of Veroboard) to create the reset circuit as per the schematics, I then soldered the connecting wires to the relevant pins on the PLCC socket to create the ability to plug the socket over the Gayle chip to implement the fix. The design is as compact as it can be and allows for a completely solder free solution that costs less than £1.50 in components.
The reverse side of the solution is shown in the image below.
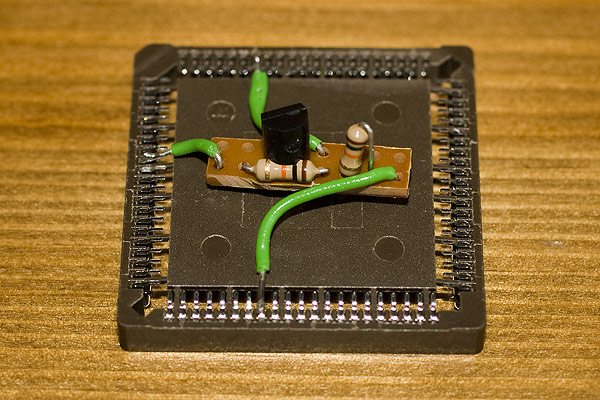
Once the circuit is built and soldered in, it's prudent to then insulate all those bare pins so they don't short anything out.

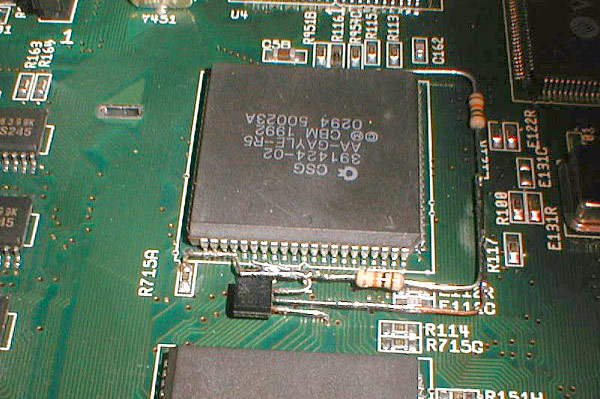
Once the circuit is built ready to be fitted, it's simply a case of pushing the PLCC socket over the chip named "Gayle" in the A1200.
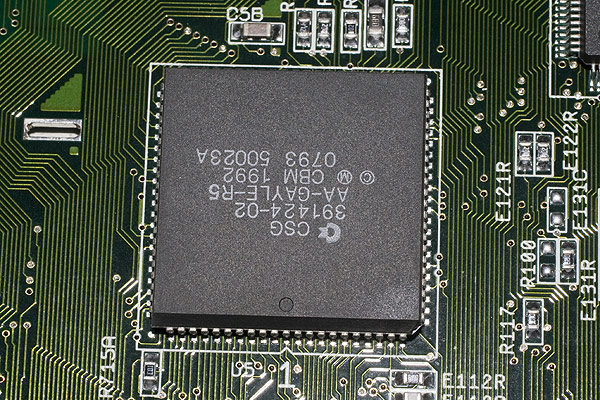
After locating Gayle on the left hand side of the motherboard, the PLCC socket can be placed on top of the chip to implement the pre-built PCMCIA reset fix.
The final thing to do was to re-assemble the A1200 and power up whilst the PCMCIA card was installed which it did, first time.